
Growing Sprouts in an EasySprout™ Sprouter
In my opinion, the best sprouter for your money is the EasySprout™ by Sproutamo. It is not expensive: about $15 CDN. What you get is a 1 litre container with holes in the bottom and another slightly larger container that it fits into. The two are designed so that the inner container can sit slightly elevated in the outer one to increase ventilation. It also comes with a couple of lids and a snap-in insert for sprouting smaller seeds so they don't fall through the holes in the inner cup.
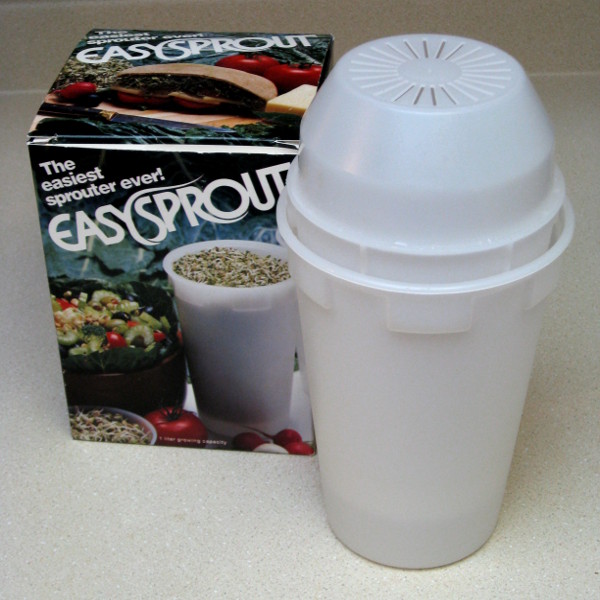
My EasySprout™ sprouter.
As your seeds sprout they generate heat and in order to remain "healthy" they need to stay within a certain temperature range. This is why good circulation is important. The EasySprout™ works on the premise that as the sprouts generate heat, the warm air rises and pulls in cool air through the bottom of the inner cup. This keeps the sprouts cool and aerated with moist air.
You can grow sprouts in the EasySprout™ with only a single initial rinse. Seeds sprouted without regular rinses are suppose to have a longer shelf life and taste better but it depends on what you're sprouting. I have never tried this method though as I believe it is important to rinse the sprouts to keep them separated, particularly brasicas like broccoli. The instructions that come with the EasySprout™ contain a table with the soak/sprout times for different seed types. I usually rinse my seeds a couple of times a day.
The biggest problem people have with the EasySprout™ is the instructions: they are terrible. Fortunately using this thing is very simple and once you have done it a couple of times, you won't need instructions anyways. Here is how I do it:
Soaking
- If sprouting small seeds like clover, alfalfa or broccoli, insert the small seed insert into the bottom of the inner container.
- Seat the inner container in the outer one such that it fits all the way down.
- Add no more that a couple of tablespoons of seed to the sprouter. Three tbsps of alfalfa for example is all this sprouter can handle.
- Cover the seeds with water. You don't need to fill it completely. Half way is fine.
- Stir the seeds to remove trapped air. Be careful not to loosen the small seed insert at the bottom of the container.
- Soak for the time required for your seeds: anywhere from 2 to 12 hours.
- When finished soaking, lift the inner container from the outer, dump the old water and give the seeds a rinse, leaving them in the cup. Just run some water over them.
- Shake the cup to remove as much water as you can from the seeds. I tend to bang mine (gently) against the inside of the kitchen sink. Excess water is not desired but a few drops won't hurt either.
Sprouting
- Insert the inner container back into the outer container but this time turn it so it sits elevated out of the outer container. This is how it should always sit when the seeds are sprouting.
- Sit the large vented cover over the inner cup and place the sprouter someplace out of direct sunlight where the temperature is constant (room temperature).
- The length of time you let your seeds sprout should vary depending on the type of seed and how long you like them. Three to four days is all it takes for most sprouts.
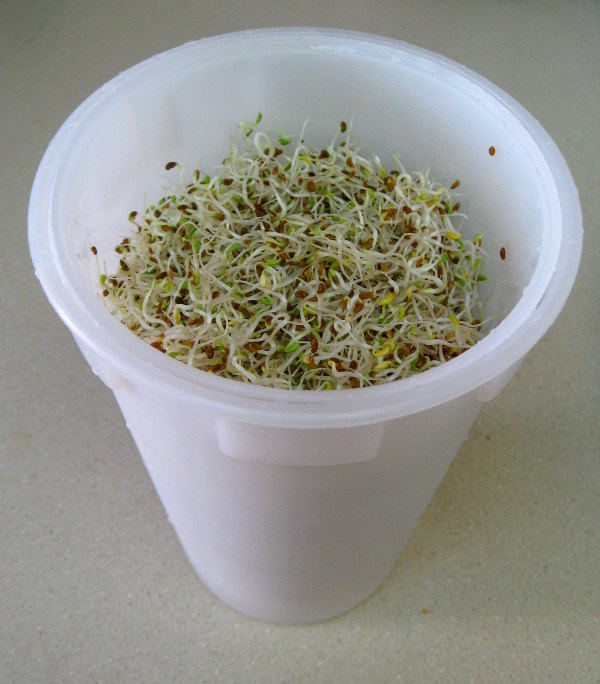
Alfalfa sprouts in the EasySprout™.
Rinsing
- I rinse my sprouts twice a day. You can probably get away with fewer rinses but two is the habit I've gotten into. If you rinse too often you run the risk of leaving your sprouts too moist and they will not sprout properly.
- Rinse time is a good time to sample the sprouts. It is a good idea to occasionally taste them to see how they are progressing.
- To rinse, just pull the inner container from the outer and pour water through it. I use the kitchen sprayer and give the sprouts a minute under it. The rinse water should not be too cold or too hot - something like room temperature is perfect.
- When the sprouts get longer, and especially once they start to bunch together, I start rinsing by leaving the inner container in the outer container and fill it with water. Stir the sprouts to break up the mass. Some of the hulls will also float up and can be poured off.
Storing
- When you are happy with the length of the sprouts you can just put a lid on the sprouter and put it in the fridge for storage. Your sprouts should last a few days like this.
- Sometimes I remove the sprouts and put them in a large covered bowl that I then store in the fridge, freeing the sprouter for another crop.
What can you sprout in the EasySprout™ sprouter? Just about anything. You can not grow micro greens or leafy sprouts or sprouts that require soil which shouldn't be a surprise. But just about anything else can be sprouted with very little effort.


